PROCESS
- I started by using the slab roller to flatten out a piece of clay.
- Then I used a sponge and rib to smooth the clay down.
- Using a spray bottle I placed on top of my slab I used a fettling knife to carve out a circle.
- Once I had my base I started by creating simple coils and smoothing them down on both the inside and outside of my piece.
- I would adjust the size of my coil according to the shape I wanted my piece to have. The shorter the coil larger inward your piece would go the larger the coil the wider your piece would go.
- I repeated steps four and six until I reached my desired shape.
INSPIRATION
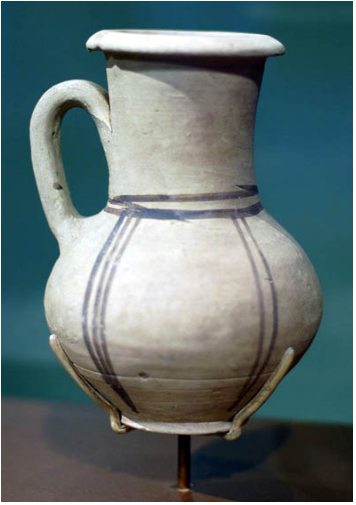
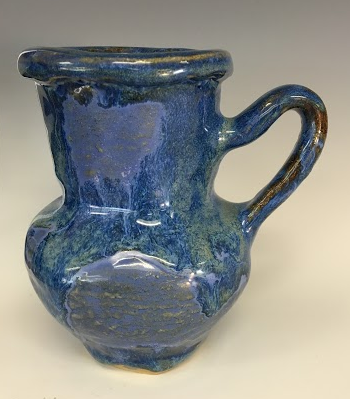
This particular picture is an Egyptian pitcher. I am inspired by this pitcher because it is functional, visually appealing, and has a nice contrast of round on the bottom to flat on top. Hopefully my large coil will turn out similar to this piece of art.
This particular picture is an Egyptian pitcher. I am inspired by this pitcher because it is functional, visually appealing, and has a nice contrast of round on the bottom to flat on top. Hopefully my large coil will turn out similar to this piece of art.
FINAL PRODUCT
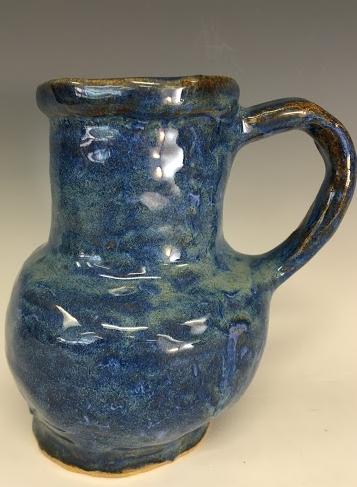
Here is my first large coil, since I still had plenty of time left I create a second smaller coil cup.
Here is my first large coil, since I still had plenty of time left I create a second smaller coil cup.
 | 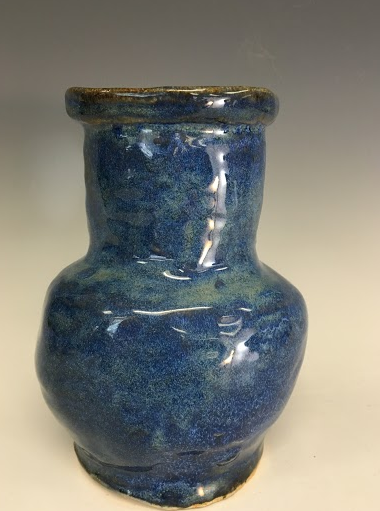 |
Here is the second one.
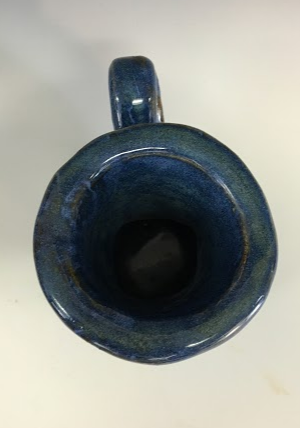 |  |
I am fairly proud of these two coil cups because all though they do not replicate my inspiration they are similar to my inspiration. I will certainly be using these at home!
 RSS Feed
